Starting Out
Photographers over time have produced some incredible images that have withstood the test of time. It has taken photography to new heights making it art. It becomes a creative process whereby a would-be photographer has to think about their subjects and scenes. It’s no longer as simple as just taking a photograph. One has to make it, know where to stand, or to take the photo from with the knowledge that in every picture, two parties are involved, the photographer and the viewer.
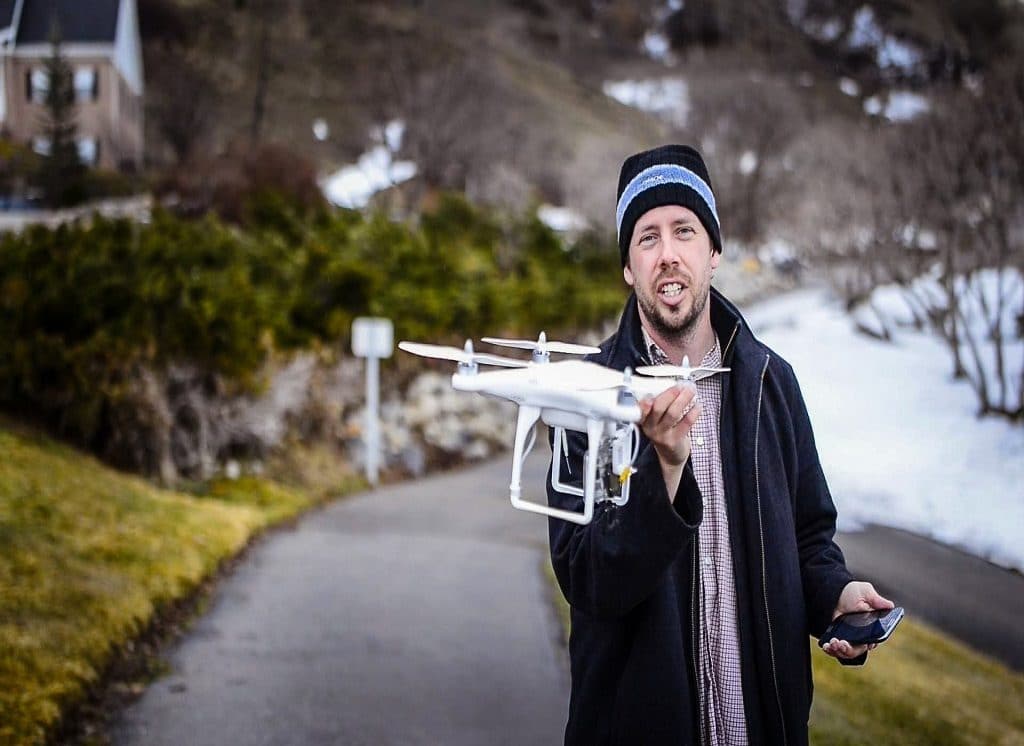
Aerial photography operates on a whole different level since the camera is not mounted on a still surface and requires more skills to pull off successfully. It doesn’t convey the feeling of being up in the air. It works on the principle of isolation since when in the air the views can be panoramic, forward, sideways at a 180-degree stretch of the horizon.
With those views and options one has to choose what to focus on and as a result of the point of focus when looked at eventually, doesn’t remind people of the flying experience. Many different factors influence the process hence prior planning is vital.
Important Aspects To Taking Your Photos
1. The Camera

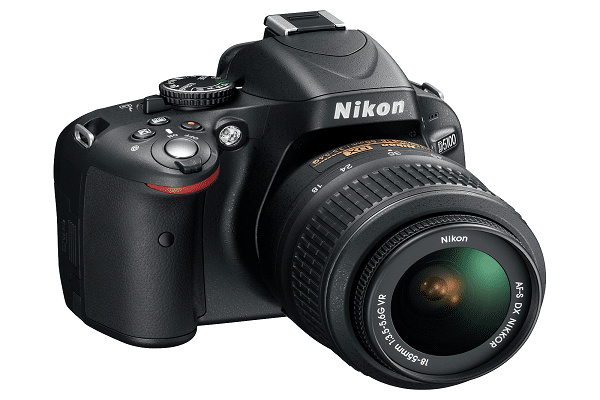
No limitation ties the photographer to a single camera since there are numerous options when it arrives at what type of camera to use. The most important is the camera resolution, higher camera resolution allows for taking of clearer images.
If the camera has more megapixels, it allows for trimming and cropping while at the same time maintaining a good final image size. For the first time, it’s difficult to keep stability in the air with the flying plane, but it improves with time.
More megapixels mean you can afford to shoot images a little bit looser, then later crop them and rotate when you transfer them to a computer. Another important thing to consider is how the camera performs in high ISO. When shooting Images very early or late in the day, the levels of light are relatively small.
When a camera’s ISO is pushed, higher models tend to be softer and more noise starts setting in the photos. The shutter speed of your camera should also be fast enough to avoid producing blurry images.
Full frame cameras usually have better ISO performance. Pocket-sized point and shoot cameras usually have poor pictures. Point and shoot cameras have small cameras and small sensors giving a terrible ISO performance, with the weakness further revealed when taking low light aerial photographs.
The minimum considerations if you’re looking to maximize on a photo flight should be A DSLR or mirrorless camera with a sensor of at least APS-C size.
2. Camera Settings

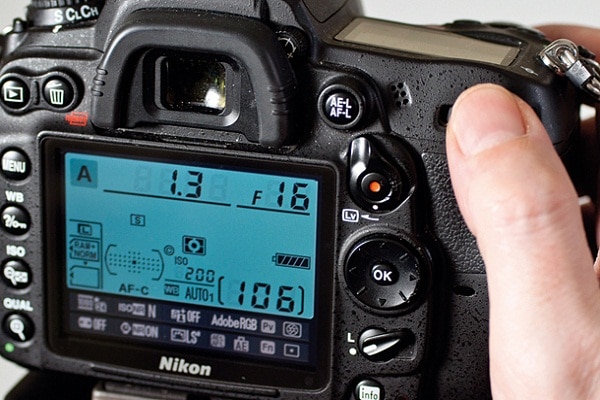
The top priority in aerial photography is the exposure triangle (aperture, shutter speed, and ISO). The shutter speed needs to freeze motion and deliver a sharp image. The minimum should be 1/640 second and preferably 1/1000 or higher. If you are using larger focal length, the camera should have a higher shutter speed to have a sharper image.
Shutter speed is of paramount importance and using fully automatic exposure on your camera is recommended as the cameraman has no control over shutter speed. When choosing shutter speed, you dictate the shutter speed and the camera determines which aperture will be needed to go with it and give a correct exposure.
Aperture determines the depth of field in your images, and an aperture of about f/5 and f/11 is recommended. With a shutter speed set around 1/1000, your camera chooses an aperture wider than this (f/2.8) and you’ll need to increase the ISO to compensate and allow your camera to gain deeper field depth. Auto-focus should be in one-shot mode since the subject is roughly the same distance from the camera.
3. Dealing With Vibrations
Helicopters and light aircraft have more vibrations due to air disturbance, and turbulence which might result in blurry images even with the right camera settings. The trick is not to lean the camera on the parts of the aircraft. Where possible, poke out your camera through the window while avoiding coming into contact with part of the sides of the plane. Any vibrations are quickly reduced by your arms and torso, before reaching the camera.
4. Weather And Time Of The Day
Sunny days provide the brightest pictures and accentuate more details of the ground. Despite this, in the air, it might be hazy with higher altitude misting over your photographs and reducing your visibility. Somewhat cloudy days are a safe haven for a photographer as they naturally balance the light.
It’s also important to consider the angle of the sun about the subject. Time of the day affects the softness of light and direction. You should have ideas of the subject to be shot to work out which camera angles best bring out the images you want. If your operator has given the choice of time of flight, more information is valuable to help in your planning.
5. Windows
It’s important to check the windows for three main reasons: stains, reflections, and unfocused images. It would be disheartening to have a great photograph spoiled by a stain in the middle of an unfocused picture. To avoid reflections, get as close as possible to the window and avoid wearing unnecessarily bright clothing.
Using a UV filter is also recommended. The size of the windows also comes into play as it might reduce your shooting area. Long-winged aircraft also obstruct the field of view and might bring about a problem in choosing right camera angles. If possible, it’s always good to avoid shooting through the window at all. The perspex windows cause a color cast if you are shooting through them. This hinders the best accuracy and production of sharp images.
6. Batteries And Cards

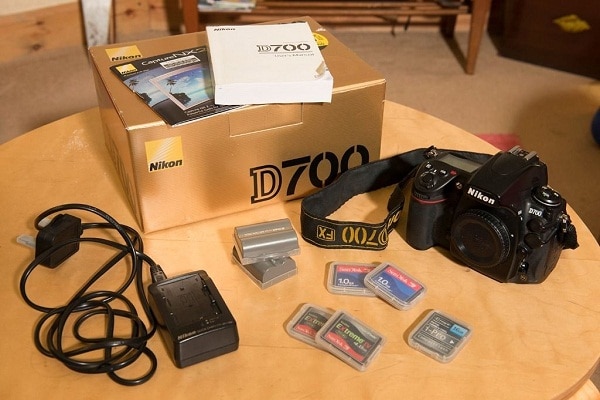
Make sure the batteries are on the full charge before taking flight. The card should be bigger than suits your needs. It should also be empty to create enough space for the photographs. While changing the memory card, you could be missing very important shots.
Conclusion
It’s important to choose which kind of aircraft to use. Helicopters are better in the case where a quick change of altitude is necessary. However, helicopter flights are very expensive when hovering. A circular polarizer cuts out reflected light and has a dramatic effect on colors within an image.
If shooting through a window, it reduces perps or glare on the glass. Finally, it’s important to rotate your camera and shoot from various angles. It gives variations in resulting images if you want to make some prints from your images.

